Wednesday, January 29, 2014

Magazine Cover part 1

The parts of a magazine are 
MastHead - Title.
DateLine - Date of publication.
Main Image - Which is practically the main idea of the magazine.
Model Credit - Is just the credit given usually for the model on the cover.
Coverlines - Are lie lines of things that are happening that will show throughout the magazine.
MainCoverlines - Is just the Main coverlines, the main thing the magazine wants you to know.
Left Third - Is what the magazine whats you to see and be able to tell what the magazine is about.
Bar Code - Is a standard bar which everything bought has.
Selling Line - Is like a line said to target certain peoples attention.


All these properties of the cover of a magazine is to grab peoples attention with information of the magazine.

Photoshop Practice


Photoshop Introduction

Common Tools
4. Crop Tool- Is used to cut of parts of a photo. 

5. Lasso Tool- Is used to shape around an area of a photo to use that certain part.

6. Text Tool- Is used to add text to a photo.

7. To "Undo" you have to use the history palette by going to window-history-then deselect.

8. Same as before when you have done a mistake go to the history palette by going to window  then history and deselect. The program will have every action saved as soon as in use. 

9. To rotate an image is pretty simple go the image menu and select image rotation. From the image rotation selection there will be multiple possibility's to rotating. 

10. If you realize you dont like the cropping you are about to do there is a cancel button(looks like a no smoking circle) or pres escape.  

11. When using "resizing" your telling the photo the dimensions (Length, Width) the photo should be after cropping.

12. Newspapers or newsletters are usually in the range of 150 - 200 resolution.

13. The correct resolution for a magazine would be 300 or more.

Thursday, January 16, 2014

Fixed Portrait Shoot Submission

                                                                             ISO: 100
      Aperture: 18
                                                                     Shutter Speed: 1/100
                                                                      Prediction : Dim
                                                                          Result: Dim


                                                                            ISO: 400
                                                                         Aperture: 25
                                                                    Shutter Speed: 1/10
                                                                      Prediction: Clear
                                                                Result : Little Too Bright         


ISO:800
Aperture:22
Shutter Speed: 1/10
Prediction: Too Bright
Result:Too Bright

                                                                           ISO:1600
                                                                           Aperture:8
                                                                      Shutter Speed:1/10
                                                                    Prediction:Too Bright
                                                                      Result: Too Bright
      
                                                                            ISO:3200
                                                                           Aperture: 20
                                                                      Shutter Speed;1/100
                                                                        Prediction:Clear
                                                                           Result: Clear


1.
 Unfortunately I had to take photos during two different days and one day was cloudy while the second day was bright and sunny. So during the photo shoots it was easier with an ISO of 400.

2. The second best photo i took was the last one with the ISO of 3200.

3. In my head changing the settings to create a good photo is very easy because its a simple thing to do. Unfortunately it was hard for me to actually put that to work and was not able to get all the photo clear and good.

4. I Learned a good amount of things from this to put on my actual portrait, such as putting the settings correctly to take a good and clear photo.  


Wednesday, January 8, 2014

Best Photos Of 2013

                                                  I choose this photo because it is a very beautiful and i believe it makes people think more about everything being alive in a way. something that makes this even better is, its just natural everything in this photo was something of just life that was captured.
                              

                                                 I choose this photo because im a very big fan of street art. it inst easy and in the end can be very amazing to see. In this photo a merger appearing as the mans hair which is really cool.

                                                I choose this photo because i am a very big fan of the Asian culture and have always wanted to go to the great wall. This uses depth and its very beautiful thing to see that not many people see.

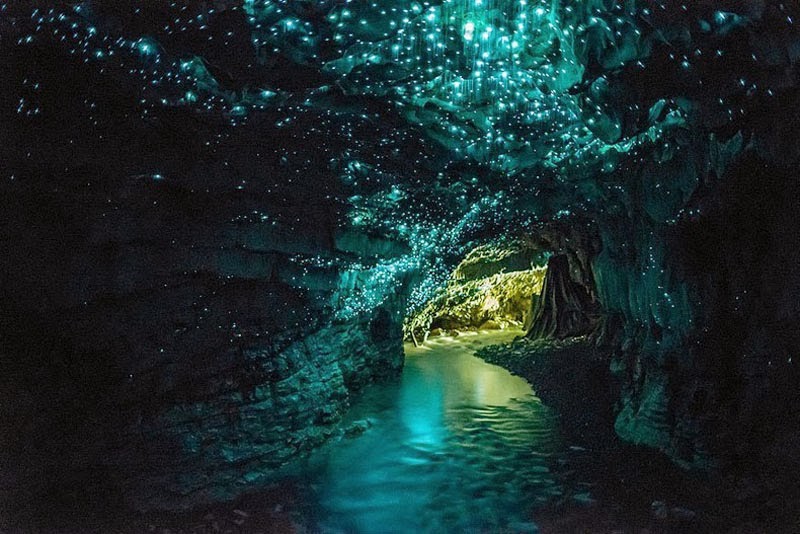
                                                 I choose this photo because not many people know that these are real caves and even less have seen in person. I have always wanted to see them and in the end these caves are simplicity.